


Post-Processing Analysis pt.5 - Creating the Hatching Shader

Research Summary
This research explores post-processing in stylized 3D horror video games and how these post-processing methods are used to create the emotion of unease.
Like the previous two, this blog post will briefly cover how I set-up the post-process material before moving onto the main focus - the attempt to achieve an 'eerie' look using it. Originally, I referred to this one as a 'Painterly Shader'. I decided to re-word this to 'Hatching Shader' to better reflect the final result.
Creating the Hatching Shader
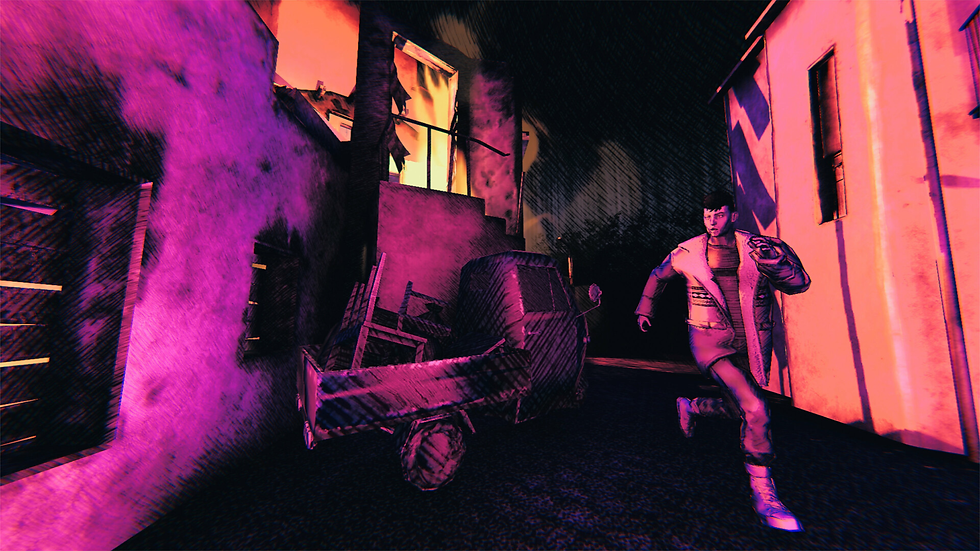
The aim for this shader was to achieve a 'pencil-sketch', 'hand-drawn' appearance - inspired by games such as Saturnalia (Santa Ragione, 2023), and MadWorld (PlatinumGames, 2009).

I had no previous experience creating this style of shader, so I heavily relied on a series of tutorials by Kamil Hepner for the base set-up within the material graph. Kamil Hepner's method works by masking out different greyscale values received from the scene's lighting using a shadow mask. Then applying different crosshatched textures to the masks. This is achieved through Unreal Engine's 'Color Curve' (CurveLinearColor) and 'Color Atlas' assets.
Values are inverted: darker values represent brightly lit areas, while lighter values represent shadows/dimly lit areas.

To better separate the low, mid, and high shadow areas, Kamil Hepner assigned RGB values to the these areas. I followed this technique in my scene, and adjusted the range and values of the low, mid, and high colour curves until I was satisfied with the results. The low shadows are displayed in red, mid shadows in green, and high shadows in blue. Black represents areas that will not be overlayed with the hatching textures.

Making the textures
I used Adobe Photoshop to create the hatching textures required for the shader, utilizing Photoshop's 'Pattern Preview' to ensure the textures tiled. I used the 'KYLE Ultimate Charcoal Pencil' brush which comes with the program by default. I created four black and white hatching textures (512x512 pixels), with texture 1 having the most 'white space' and texture 4 having the least. I then created 'cross-hatched' versions of all four textures. This was so I could play around with which textures looked the best - whether to used hatching, cross-hatching, or a mixture of both. I exported all eight textures in .PNG format before importing into Unreal Engine.


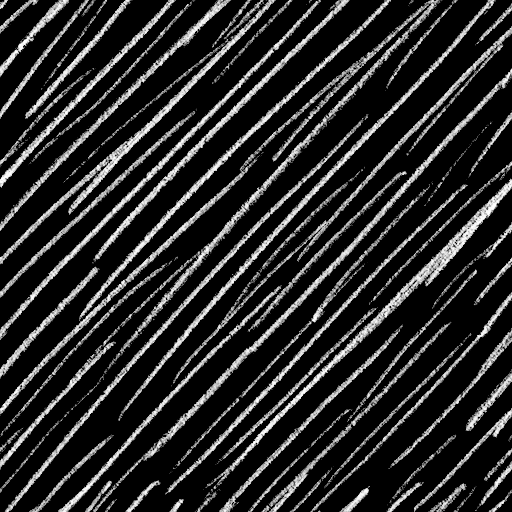


I ended up choosing Hatch_01 for the low shadows (top left), Hatch_02 for the mid shadows (top middle left), and Crosshatch_03 for the high shadows (bottom middle right). After adjusting the color curve values and tiling for each texture, I ended up with the result below.
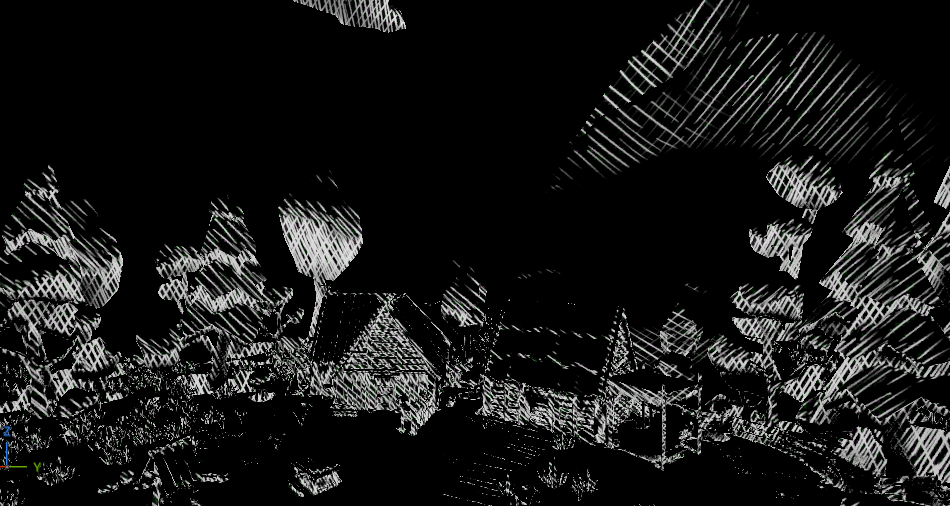

Continuing to follow Kamil Hepner's tutorial, the result was then used as an alpha to lerp between two Vector3 nodes, one controlling the colour of the hatching lines, and the other tinting the overall screen. By default, the hatching lines were set to black and the screen tint was set to white.
The scene colour was brought back into the shader by multiplying the SceneTexture:PostprocessInput0 node with the 'Scene Tint' Vector 3, and hooking that into the 'A' input in the 'Lerp' node.
Adding Eeriness
This post-process style was unique to the others due to the absence of colour. A lot of the work was done in the shader itself, but in an attempt to increase the eeriness I added a cool purple tone to the scene and increased the vignette. I felt the silhouettes being somewhat fuzzy would increase the eeriness, but to avoid the scene being totally unreadable I adjusted the gamma and saturation for the shadows, mid-tones, and highlights. This was also done to emphasize the shadows, creating dark areas which are generally considered creepy due to obstructing the players view.


(GIFs of all three post-process styles can be viewed here).
Conclusion
Now that all three shaders are complete, my next task is to compile them into a survey to gather responses on how eerie the scenes appears to others. I plan for the survey to be released to students studying game development at Media Design School in Auckland, New Zealand, and potentially a few non-students.
References
Kamil Hepner. (2021). Hatching shader tutorial. YouTube. https://youtu.be/18U50KPdD2A?si=wXvTXMoUN6a9Vwyw
Kamil Hepner. (2021). Static hatching shader [request]. YouTube. https://www.youtube.com/watch?v=-cnSxjTvUng
Kamil Hepner. (2022). Stylized lines and outlines. YouTube. https://youtu.be/pJ42ylVyDpc?si=jIQ5qbv-bpOXcRVw


Comments